
Mini Frangipane Tarts Recipe
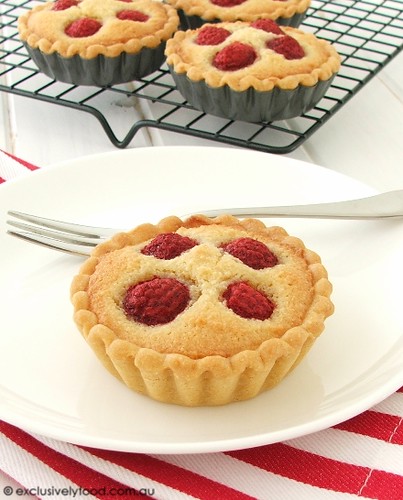
Sweet and tender shortcrust pastry cases contain a soft almond filling studded with tangy raspberries.
We tested this recipe with fresh raspberries, frozen raspberries and frozen blueberries. The advantage of using fresh berries is that the colour doesn't bleed into the frangipane as much as when frozen berries are used. However, frozen berries sometimes have a better flavour. If using frozen berries, don't thaw them before using.
We used thirteen mini loose based tart pans with 8cm top diameter and 6.3cm base diameter. The tarts can be baked in batches if you don't have enough pans to bake all of the tarts at one time.
The baking time required for these tarts is affected by the tart pans used. We found that tarts baked in shiny, silver coloured, tin-plated pans took longer to brown than those baked in darker coloured pans with a non-stick finish.
The leftover egg white from the pastry could be frozen and used at a later date for friands etc.
Makes 12-13 8cm diameter tarts.
Preparation time: about 45 minutes (excludes pastry resting and baking times)
We use a 20ml tablespoon and 250ml measuring cup for all of our recipes.
Pastry
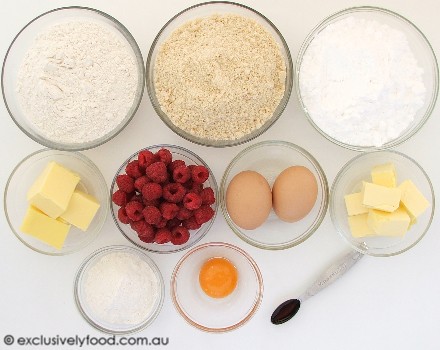
162g (1 cup plus 1 tablespoon) plain flour
38g (1/4 cup) self-raising flour
60g (1/3 cup, very firmly packed) pure icing sugar, sifted
100g cold butter, roughly chopped
1 large egg yolk (we use eggs with a minimum weight of 59g)
Frangipane Filling
120g (1/2 cup) butter, softened
120g (2/3 cup, very firmly packed) pure icing sugar, sifted
1/2 teaspoon (2.5ml) vanilla extract
2 large eggs (we use eggs with a minimum weight of 59g)
12g (1 tablespoon) plain flour
165g (1 1/2 cups) almond meal (ground almonds)
About 125g (1 cup) raspberries
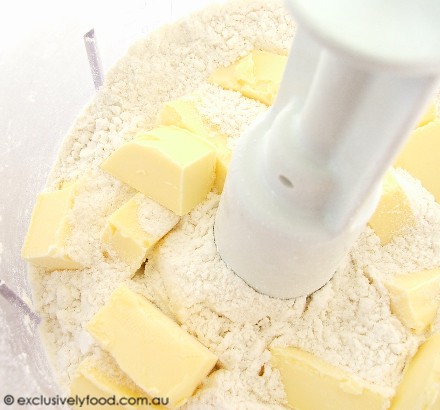
Begin by making the pastry. Place plain flour, self-raising flour and icing sugar in a food processor and process on medium speed for about 20 seconds to combine the ingredients.
Add the cold butter to the flour mixture.
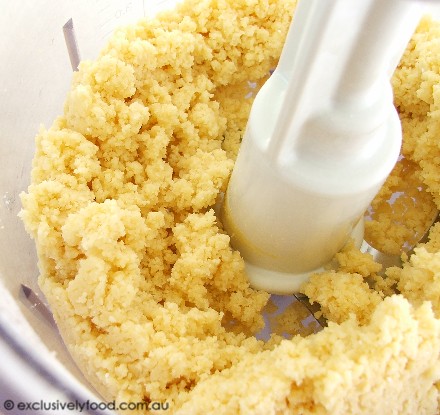
Process on medium speed for about 15-30 seconds, until only tiny lumps of butter remain (any butter pieces should be smaller than a grain of rice).

Add the egg yolk to the processor and process on medium speed until the yolk is incorporated and the mixture just starts to clump together (about 30-60 seconds). During processing, you may need to stop the machine and run a spatula around the side at the base of the bowl to dislodge any unincorporated ingredients.
Remove the processor blade and use your hand to press the dough clumps together into a mass. Tip the dough onto a large sheet of baking paper (the paper can be reused when rolling out the pastry). Use your hands to bring the pastry together into a smooth ball. Form the pastry into a disc shape.
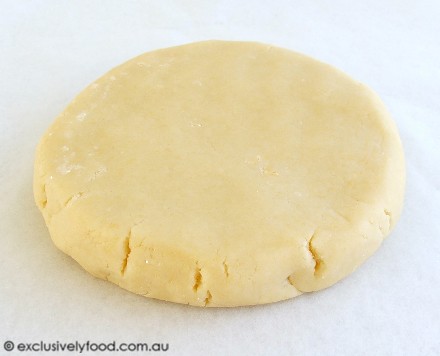
Wrap pastry disc with plastic wrap or place in a freezer bag, and refrigerate for one hour.
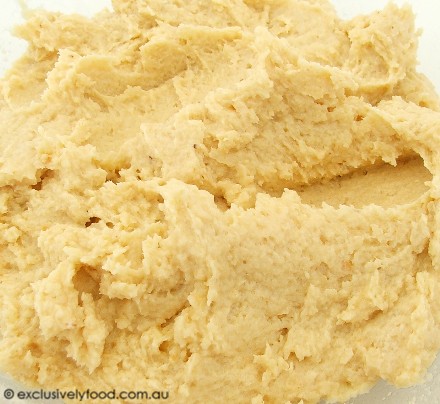
After the pastry has been in the refrigerator for about 40 minutes begin making the filling. Using an electric mixer or electric hand-held beaters on low speed, beat the butter, icing sugar and vanilla together in a large bowl.
Increase speed to medium once the icing sugar is incorporated. Stop the machine once or twice during beating to scrape down the side and base of the bowl with a spatula. Beat the mixture until it is pale and creamy (about five minutes).
Add the first egg to the butter mixture and beat on medium speed for about one minute. Stop the machine and scrape down the side and base of the bowl. Repeat with the second egg (the mixture will probably have a curdled appearance). Stop the machine and scrape down the side and base of the bowl.
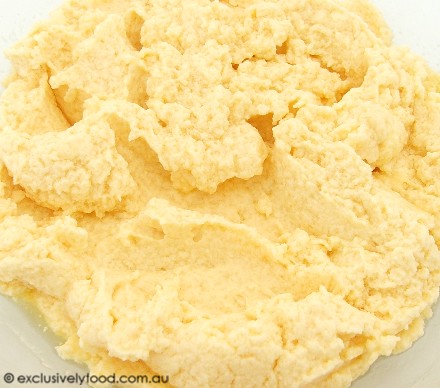
Add the combined flour and almond meal to the bowl and stir with a spoon or beat with the electric mixer on very low speed until the ingredients are combined.
Preheat oven to 180 degrees Celsius (160 degrees Celsius fan-forced). Adjust the oven rack to the lowest position; the pastry bases will brown better if they are close to the bottom element (not necessary for a fan-forced oven).
Place unwrapped pastry disc between two large sheets of baking paper. Using a rolling pin, roll pastry out to 3mm thick. Use a 9.5cm diameter cutter to cut circles from the pastry. If you are using different sized tart tins to those specified above, you will need to adjust the size of the circle accordingly.
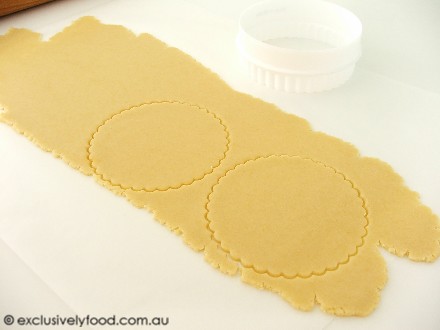
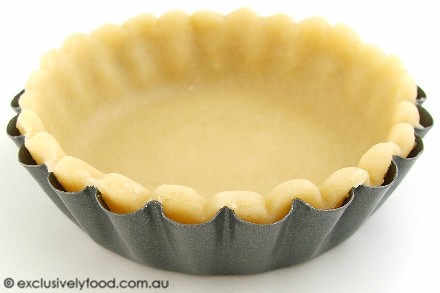
Use the pastry circles to line the tart pans, making sure the pastry is pressed against the base of each pan. Re-roll the unused pastry and continue cutting circles.
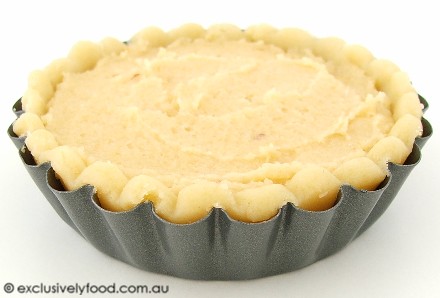
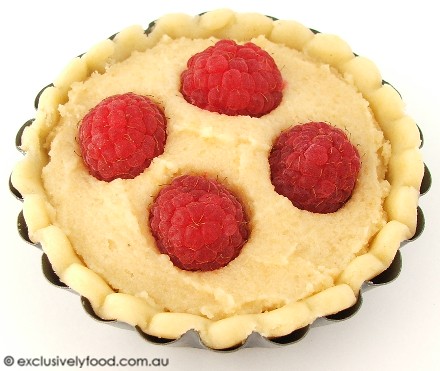
Divide the frangipane mixture evenly among the pastry cases and smooth the tops with the back of a spoon or a small offset spatula. The frangipane should be just below the top edge of the pastry.
Divide the raspberries evenly among the tarts (about 10 grams of raspberries per tart).

Push the raspberries about halfway into the frangipane mixture.

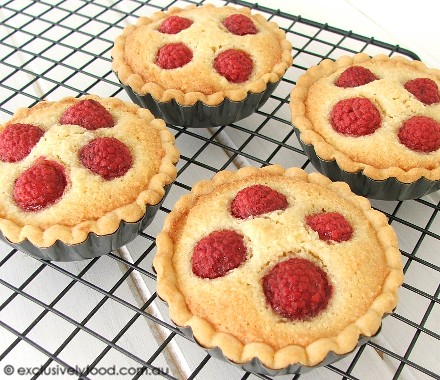
Bake for about 25-30 minutes, until the tarts are lightly browned.
Place on a wire rack to cool for about ten minutes.
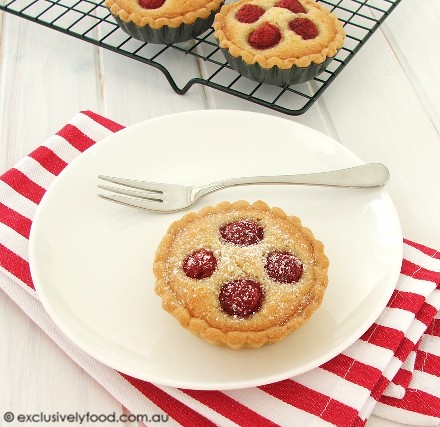
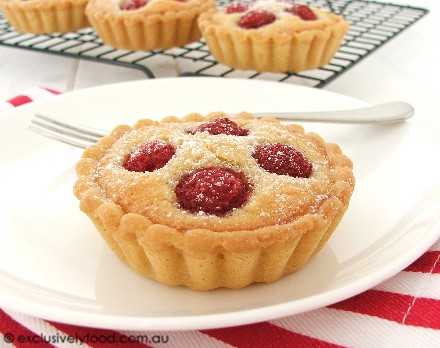
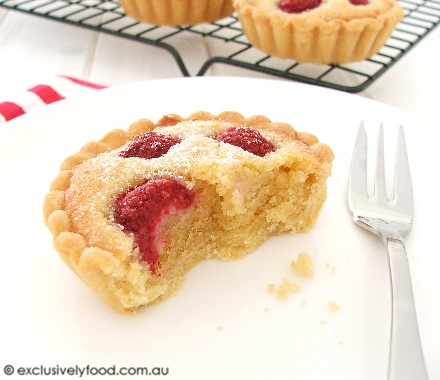
Remove tarts from the pans and allow to cool, or dust tarts with icing sugar and serve warm, on their own or with cream and/or ice cream.
Store tarts in an airtight container at cool room temperature for up to two days. The pastry tends to soften during storage. © www.exclusivelyfood.com.au
.png)


10 Comments:
wow!!!
Mmmm mmm! I love raspberries. Your pastry looks so yummy.
Amazing ! Gr8 work :)
The look divine! Love the mini tart tins.
These were magnificent. I made them yesterday.
I've adapted your pastry recipe and successfully made the most awesome Gluten Free pastry case ever!
Using standard GF plain and SR flours I added a 1/2 tsp of GF baking powder and 1 level tsp of Xanthan Gum. In addition I had to use a little of the eggwhite to get it to bind properly but it did. It rested and rolled out beautifully and was crisp and buttery to eat. Best GF Pastry Ever!!
That is a bang on the mouth I am sure...I love pastries its delightful and it brings out memories of childhood with this one...thanks for sharing......
These tarts look brilliant!!!
I was just wondering if it is possible to make 1 large tart rather than miniatures? This is in a regular 25cm tart tin so would I make the entire recipe still?
Thanks and keep cooking as only you guys do =)
I made a large version of these tarts in a long rectangle tin- looked amazing & tasted even better- I had to add two egg yolks to bring the pastry together & it was perfect. I also made the mini cheesecakes (sister's babyshower), I looked like a culinary genius. THANK YOU!!!
I need to try this! As my h as I try to avoid making pastry it looks so worth it, and your detailed instructions and images definitely help! You guys are amazing, never tried a recipe of yours that turned out less than amazing! Always trust your recipes!
I made these last night - they came out great. However I did have to add 4Tb water (and 1/2 tsp vinegar - secret ingredient to flaky pastry apparently) to the pastry. I also didn't use a food processor, just a pastry blender.
Review this recipe/article
Subscribe to Post Comments [Atom]
Have you made this? Share a photo in our Flickr group.<< Home